
All prices are in CAD
Shipping from BC

Your trailer’s jockey wheel is often one of the accessories you’ll rely on most. It stops your trailer from tipping or falling, helps you manoeuvre it into place above a tow ball and helps keep other components such as the hitch off the ground and in good condition while not being utilized.
Unfortunately, the jockey wheel is also one of the components most likely to be forgotten when it comes to maintenance. Because your jockey wheel cops a regular beating (especially on a boat trailer where it is regularly submerged in damaging salt water), we’re going to show you how to service it, replace damaged and worn parts as well as some maintenance you can perform to prevent wear and tear.
Depending on the type of trailer you tow, its jockey wheel can face a wide variety of conditions which can cause premature wear and tear. Let’s take a look at some of the more common stresses that various types of trailers can put on your jockey wheel.
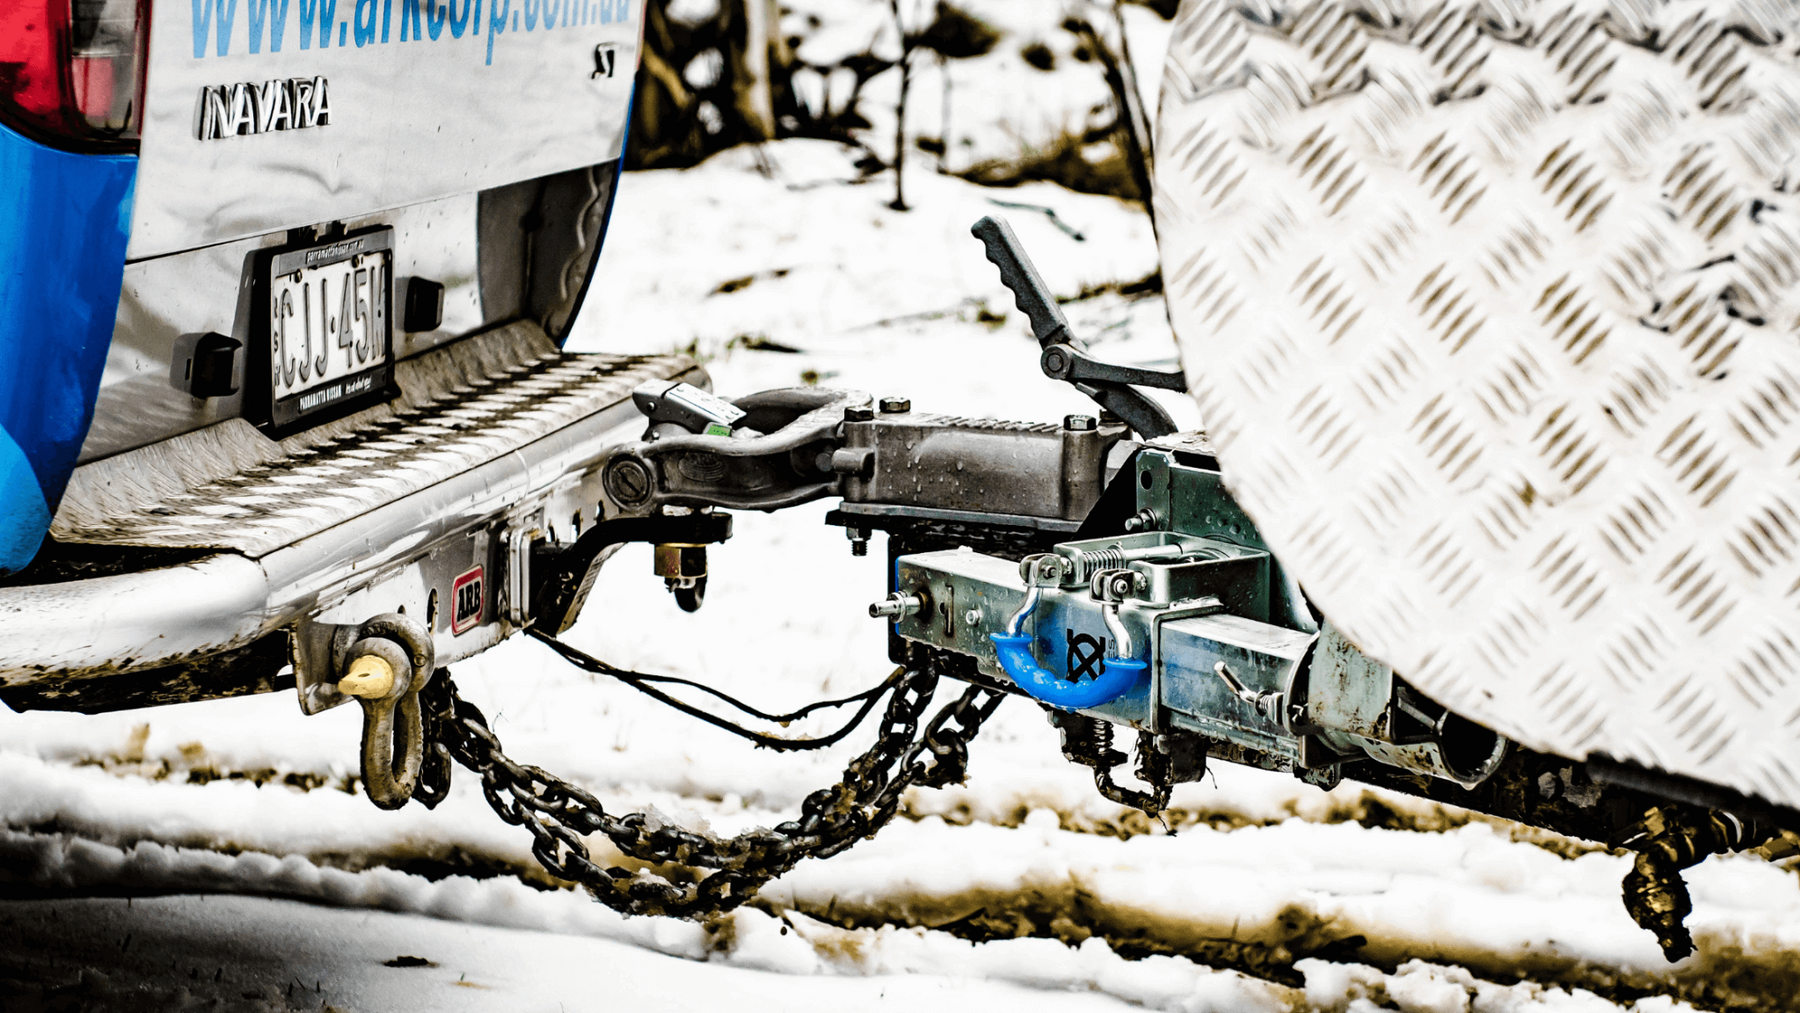
An off-road specific jockey wheel such as ARK’s XO Series can cop an absolute beating when travelling off-road, especially when you consider the wide range of tough conditions Overlander's subject their gear to on a regular basis. From being submerged in mud to copping hits from rocks and being coated in sand, an off-road jockey wheel lives possibly the hardest life of any jockey wheel!
Your boat trailer’s jockey wheel is regularly subjected to a specific condition that others rarely are – including possibly submersion in salt water. Of course, submerging a portion of your trailer when you off-load or collect your boat at the boat ramp is an unavoidable part of boating, so being proactive in preventing the damage that corrosive salt water can do to your jockey wheel is a must.
If you tow a race car or heavy machinery then you can often be pushing your towing capacity to its absolute limit. While a car on its own often won’t take you close to the common towing limits, it’s all the other things you may also need to load that will. Things like large toolboxes, extra tyres, extra engines, and heavy plant machinery, can all add up to some serious load. That means when your trailer isn’t hooked up to your tow vehicle, your jockey wheel can be doing a lot of heavy lifting and will require extra attention when it comes to maintenance.
To make maintaining your jockey wheel easier, we’ve put together this handy 5-step guide to servicing and maintaining your jockey wheel!
1: Remove the Jockey Wheel
To make things easier for yourself, you’ll want to remove the jockey wheel from your trailer’s a-frame. Place wheel chocks and ensure the trailer’s handbrake is engaged, then place a jack stand or two under the a-frame to take the weight of the trailer. Wind the jockey wheel down until the trailer is being held by the jack stands, and remove the jockey wheel from the a-frame by unbolting it.
2: Disassemble and Inspect the Jockey Wheel
Most jockey wheel designs will require you to use a spanner at each side to loosen and remove the wheel from the lower casing. Once this is done, you’ll want to pull the wheel out and check it for any axle shaft wear, corrosion, or damage. The lower and upper cases need to be separated. You can do this by fully winding the handle to extend the jockey wheel as far as possible until you release the worm drive shaft from its lock nut. Then, remove the handle by removing the roll pin with a punch. Inspect all parts as you go for any wear or damage. ARK has a variety of replacement parts available should you need them.
3: Remove and Inspect the Bearing, then Reassemble the Upper Shaft
Next, you’ll need to use a plastic mallet to tap the worm drive shaft back into the housing, and completely remove the shaft. Remove the bearing and washer, clean them thoroughly, and check them for wear. If they look worn or damaged, it’s best to replace them. Reassemble by placing the shaft back into the upper casing.
4: Clean and Check the Lower Shaft
Inspect the lower case to ensure the fixed nut is in good condition, is secure and there’s no damage to the thread. If needed, replace it with a new one. Apply fresh grease to the nut and the worm drive shaft. Reassemble the lower shaft components and reconnect the upper and lower shafts.
5: Check The Solid Wheel and Reassemble
Apply fresh grease to the axle shaft and refit the solid wheel. Ensuring the wheel is free to rotate, re-tighten the axle nut. Inspect the roll pin for any wear or damage and replace it if necessary before refitting it into the handle. Ensure the road wheel is free to swivel and rotates easily, and wind the handle in both directions to ensure it is operating properly. If everything is in order, you can refit the freshly serviced jockey wheel to your trailer!